When preparing an image to be printed on either Altro Orchestra Custom or on Altro Whiterock Digiclad (Custom), consider first the size and the shape of your space, as well as the direction you want your image printed.
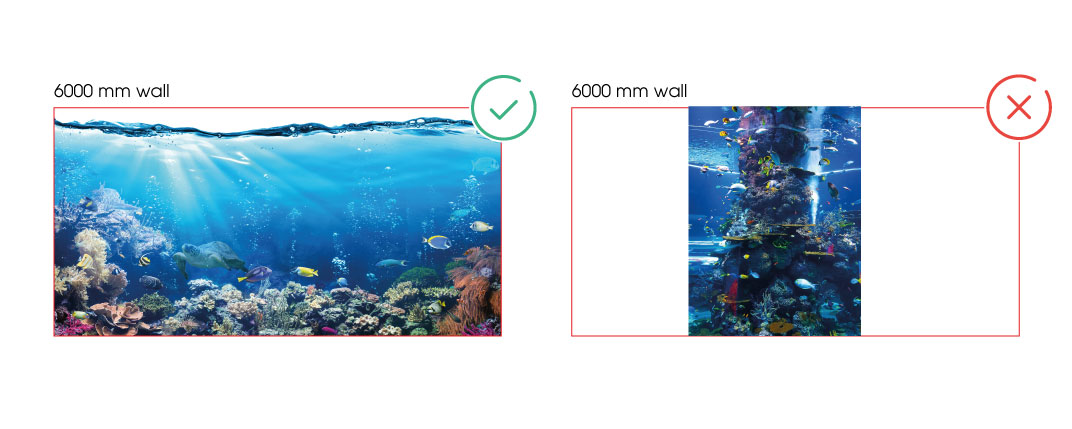
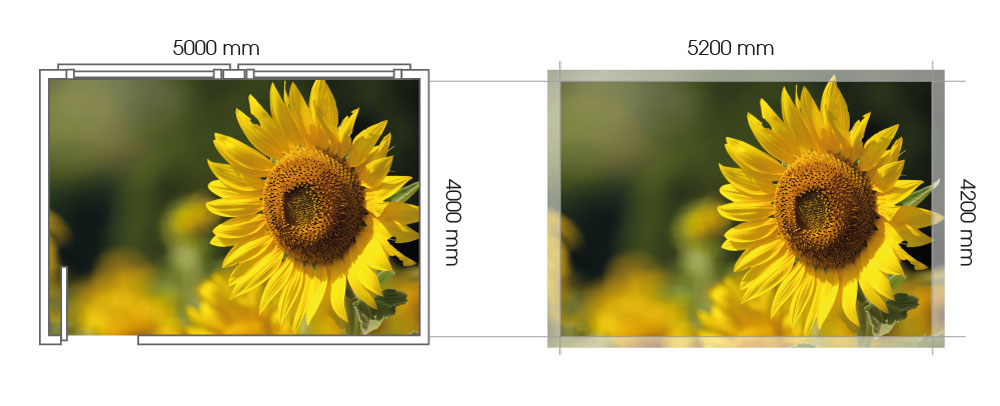
The image below, required for a 6m wide x 3m high wall, will only work landscape. This needs to be supplied as a landscape image to avoid it being too small or printed in the wrong direction.
The image resolution of the file should follow the file’s requirement guidelines and the image should not have been enlarged from its original quality. This means that you cannot take a small image from the web and increase its dpi, as the result will be a heavily pixelated image that is not fit for print.
File size: the size of your file (width and height), depends on your project, but there are some technical considerations.
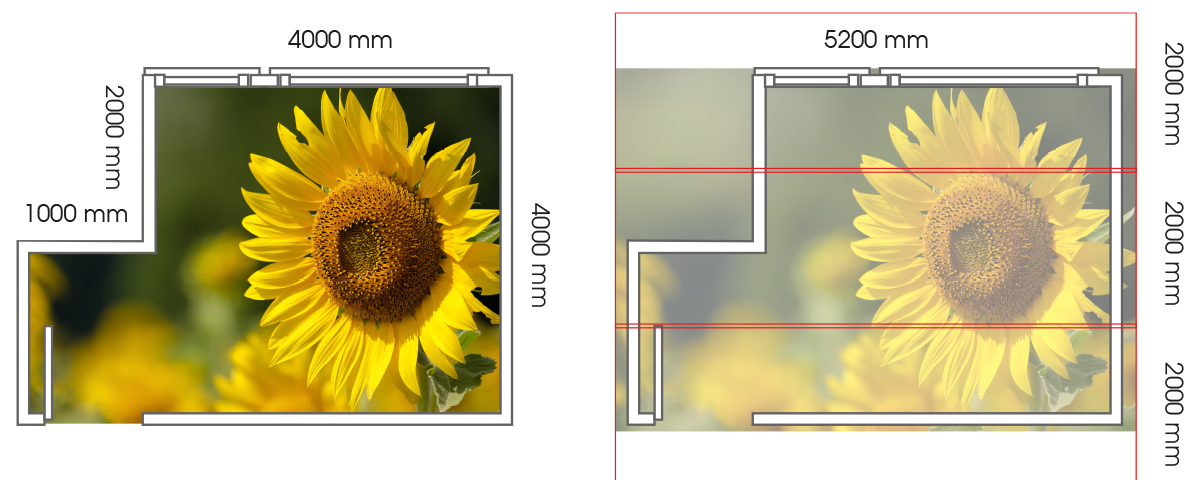
To create a repeat pattern, your image can be as big, or as small, as you like, as long as it can repeat seamlessly on each side. In the example below, the image does not work on all four sides.
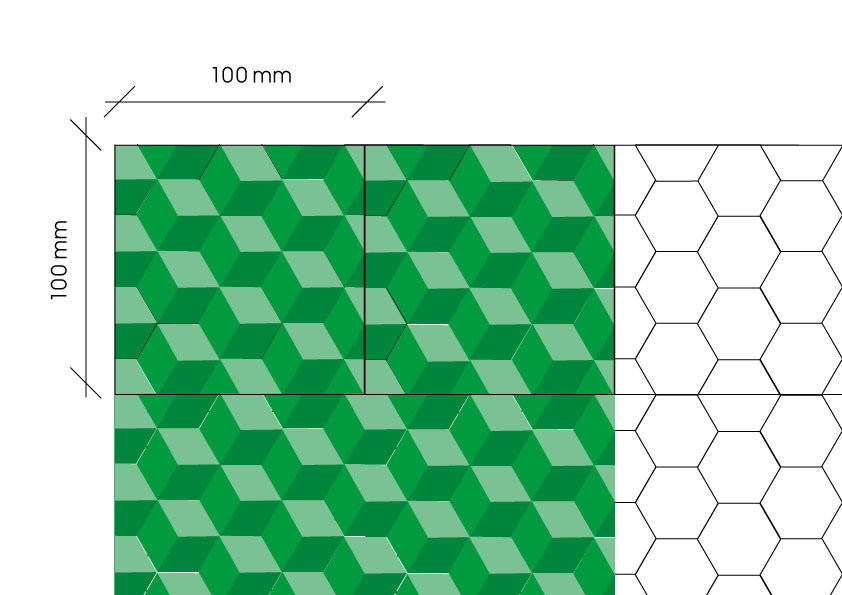
When creating the file, remember that it will be printed on a two-metre wide roll. With this in mind, we recommend you create your file in a modular structure that fits a two-metre repeat (eg 1m x 1m; 2m x 1m; 2m x 2m).

You may also want to consider that the smaller your repeat, the easier it will be to assemble the floor and reduce waste.
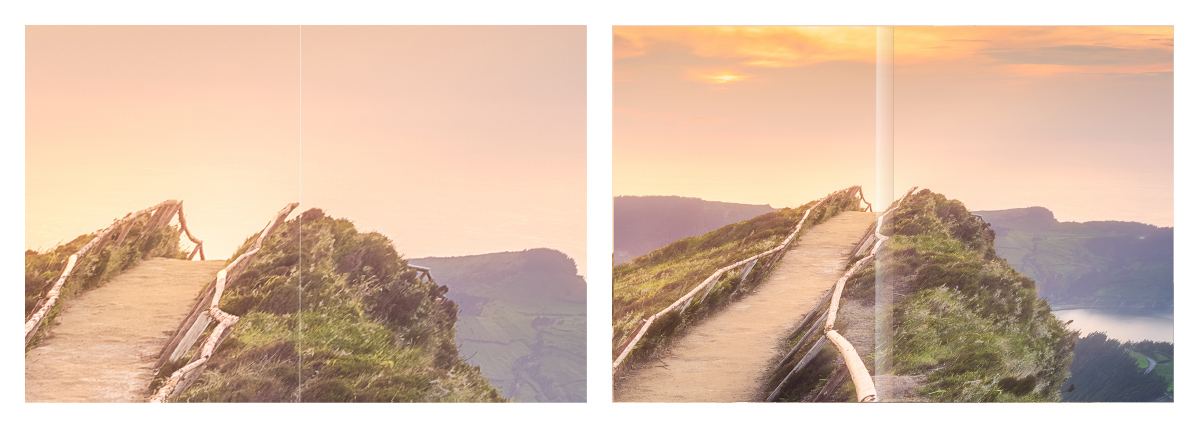
When creating your image, consider the colour of the area around the edge of your repetition to avoid unexpected results.

To feature one large image across your entire floor, consider the maximum size of your file, as this may exceed what your software can handle (eg Photoshop can only handle files as big as 2Gb in TIF format). For very large formats. and where the elements of the design do not require sharp detailing, (eg geometric shapes and lines), the resolution can be halved, taking it down to 152.4 dpi. For images such as the sunflower below, the quality will be reasonably good result, although not as sharp as at 300 dpi.
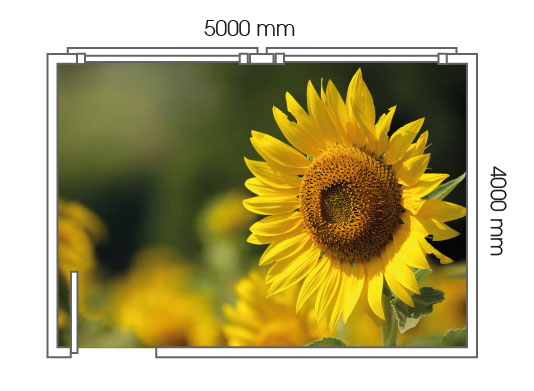
For this type installation, the image must be supplied with a 10cm bleed on each side. This will be printed and will ensure you have enough buffer to accommodate irregularity in the room shape, and adjustments during installation.
When you choose, or design, your image, consider corners, any columns and the shape of the space you wish to put your design into.
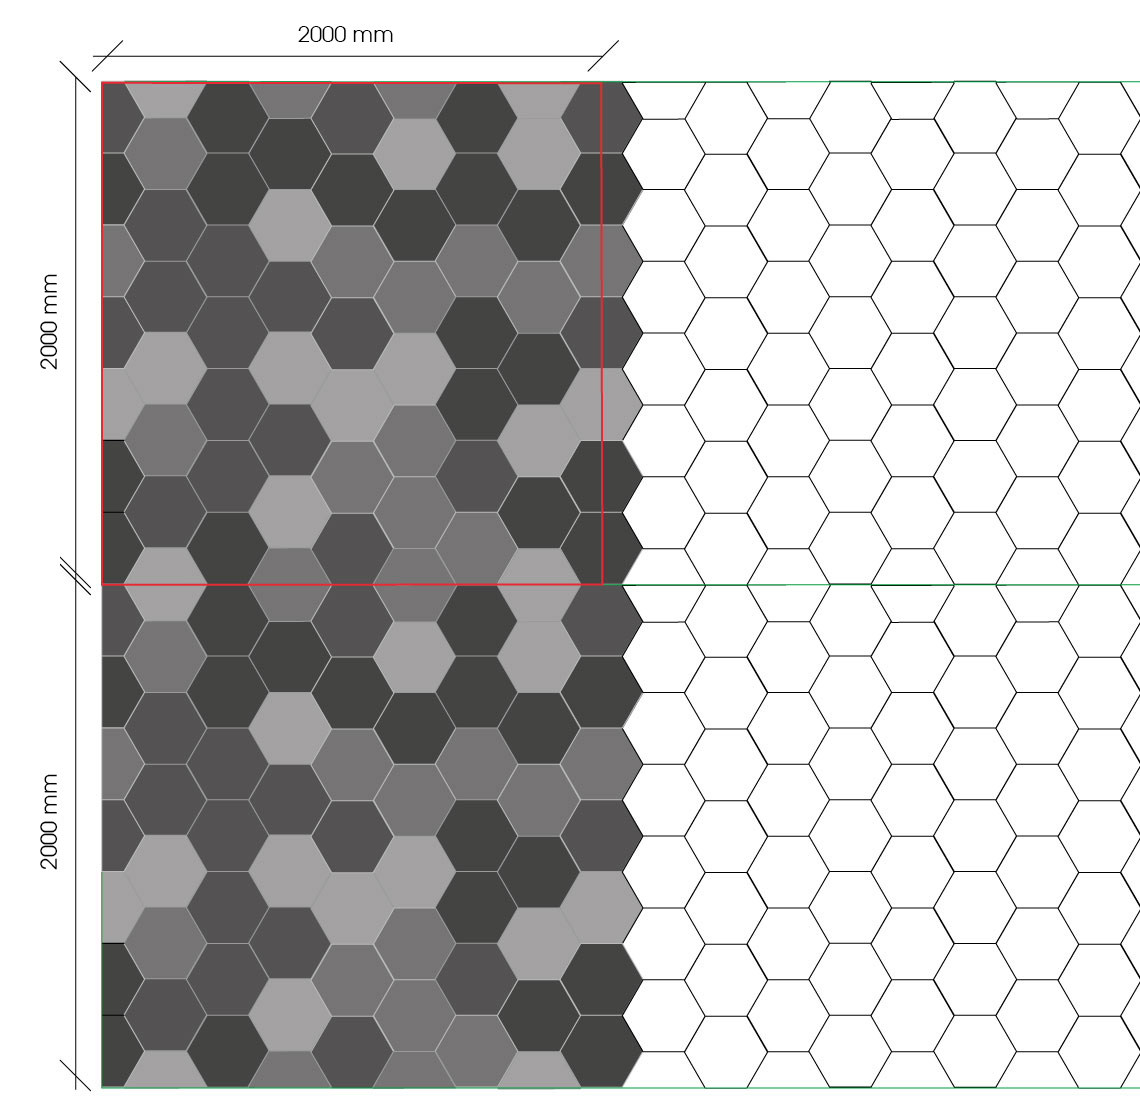
Because we print on a roll format, and the maximum width of the roll is two metres, any images larger than that will be sliced into multiples of 2 metres. For this reason, when preparing the file, consider that we will have to print the whole space without considering the empty space and we will need the full image to do so (see the example below that shows how an uneven room will be printed and the flooring installed). This ensures that you have enough room to adjust the floor when installing it, and that there are no plain white gaps on your installation.
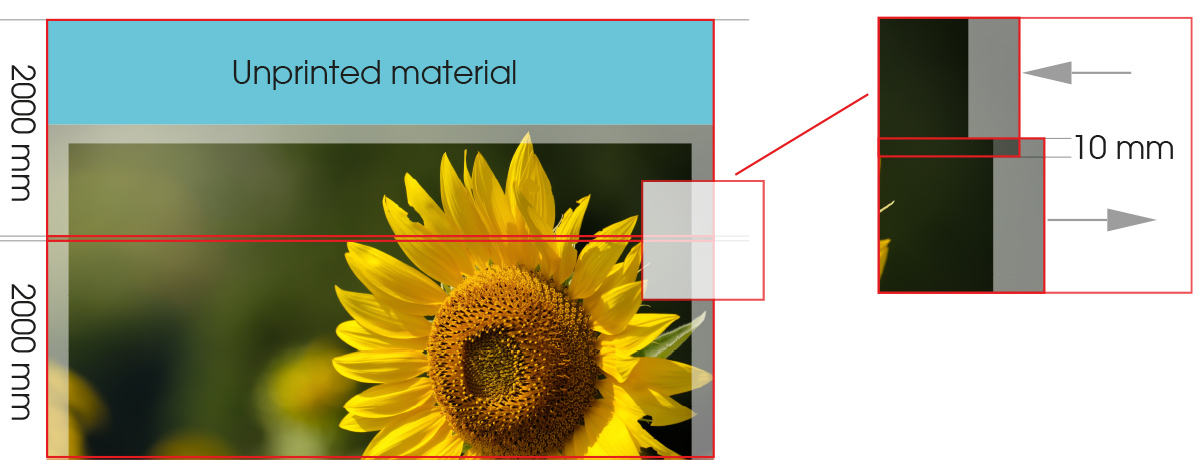
As we print in multiple of two metres, if your artwork is even slightly outside the two metre mark, it will be split over two sections, and the remaining material will not be printed. To avoid this, you may want to consider creating a filler section to maximise the product usage.
In addition to the 10cm bleed around the border of the image, we add a one cm overlap on each side of the internal rolls, which allows more flexibility during installation.
Note: if your image does not meet our upload requirements, feel free to check out the Altro collection. With multiple options you’ll find an excellent replacement in no time.
You can order your Altro Whiterock Digiclad (Custom) here, up to a maximum of 8540mm wide by 3000mm high, or opt for a 2500mm-wide sheet. If your wall space is larger than this, please contact our customer care team. The minimum order size for walls is 1220mm by 2500mm, and in multiples of 1220mm wide.
If you wish to upload an image that is 2000mm wide, this will be printed on two 1220mm-wide panels (for a total size of 2440mm). You will be left with a white section which can be cut at the point of installation.
Note: when planning your Custom wall, you can choose between two different options of jointing: butt-jointed, or with matching trims.
We do not recommend butt-jointing the files in wet environments, or in areas where hygiene is paramount, as this method does not guarantee a fully bonded system.
Ideally your file will have the exact measurements for the wall you wish to create, plus two mm bleed around the image to avoid any visible white borders during the trimming process.
If your image isn’t exactly the size of the wall, we will extend the image and add two mm around it. This means the crop may look slightly different to how you envisaged; however, you will have the opportunity to choose your preferred crop during the approval process.
Note: if you wish to create a seamless transition from floor to wall, please upload images in the same scale to ensure that the crop will join perfectly where floor and wall meet.